How To Grow Just A Few Cannabis Plants Outside
While growing pro-quality bud can take some effort, small-scale outside home cultivation is a fun, rewarding, and relaxing hobby.
Hoping to start your own cannabis garden? While growing pro-quality bud can take some effort, small-scale outdoor home cultivation is a fun, rewarding, and relaxing hobby. This post is intended for the beginning grower hoping to get a solid and successful outdoor crop. From seed to harvest, here are 11 simple steps for growing just a few plants outdoors.
Step 1: Choose the right strain(s)
Picking out the right strains for your region is critical for success in outdoor growing. Some strains may have a particularly long flowering time, which makes the best for the greenhouse in strongly northern or southern climates. Most cannabis strains grow best in regions with temperate/ Mediterranean climates.
A few questions you might ask yourself when picking out the best strains for outdoor growing include:
- Do I need a strain that is particularly mold resistant?
- Will I need to construct a greenhouse or shelter for this strain during flowering?
- Will this strain grow tall enough to be seen over a fence?
- How well-suited is this strain to outdoor growing?
Step 2: Find the right location

Cannabis plants love to soak up the sun. Before you plant, it’s recommended to stake out a plot with at least five to six hours of full sun exposure. Since cannabis is an illicit plant around the globe, finding the right location can also mean finding a place that is discrete and hidden from prying eyes.
Some growers have even taken to the trees. It’s not unheard of to fill a sack with dirt and hoist the cannabis plant into a tall tree where it can get ample sun but remain hidden from view. Many illicit growers still plant in secluded forests.
For those lucky enough to grow on their own property in a yard, a simple sunny patch in a safe location will do. While cannabis can certainly be integrated into an ecosystem, it is recommended to grow plants in a managed area without an abundance of weeds or plants that may introduce pathogens or pests.
Keep in mind that plants grown outdoors can get extremely tall and robust. It’s best to anticipate leaving at least a couple of feet of room between each plant. Researching your strain(s) ahead of time will five you an idea of how much space you might want to leave.
Step 3: Germinate in the spring
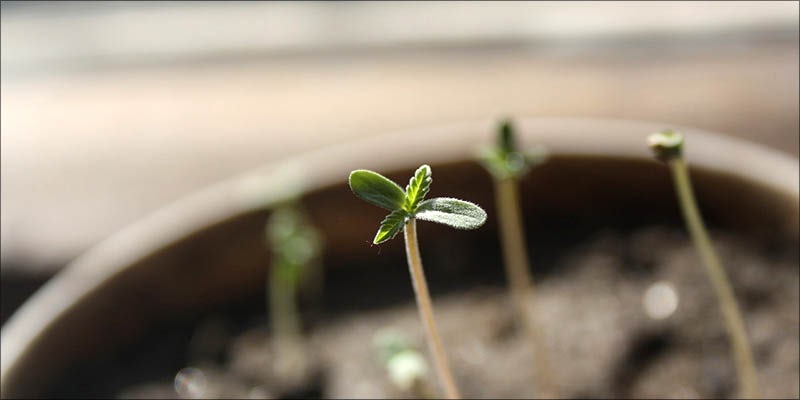
If growing from seed, it’s best to germinate indoors in the early spring. Those in a Mediterranean climate can begin sprouting as early as the first week of April. However, those in cooler climates will want to wait until May 01 to begin sprouting their seeds, depending on the temperature of the regional climate.
In general, temperatures need to reach at least 65°F (18°C) before most seeds and young plants can really take off. It’s recommended to keep plants indoors or in a covered greenhouse for the first three to four weeks of growth, and then transition outside when the weather is consistent and warm.
Ideally, you want the plant to be fairly developed and strong with multiple good leaf sets before transplanting them outside.
For more information on sprouting seeds, check out the full article.
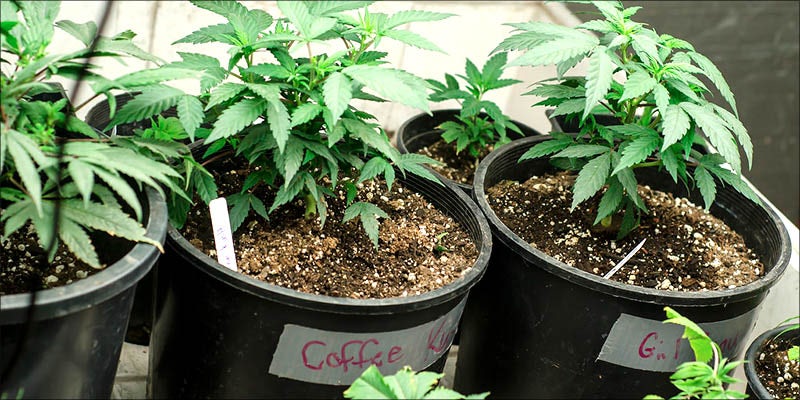
Step 4: Prepare your outside space
While plants are germinating and developing stable roots, it’s a good idea to begin prepping your space. Many home growers place their plants in raised garden beds, just like any other herb or vegetable.
Plants can also be placed directly into the ground if the area has exceptional, stable soil. Though, planting directly into the ground means that growers will have less control over the overall growing environment.
One of the best options for many is to do large Smart Pots, which keep soil contained yet allows it to breathe through fabric walls. This increased air circulation reduces the potential for pathogenic bacteria and fungus, which often thrive in anaerobic (oxygen-less) environments.
Investing in smart pots and raised beds can be a bit on the pricey side. A five-gallon bucket outside can also work well, though plants will not grow as large. Regardless of the method used, your grow space should be weeded and free of debris.
Step 5: Prepare your soil
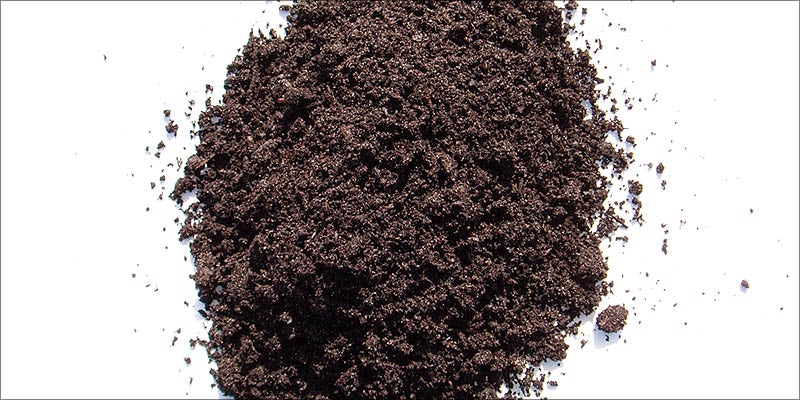
After you’ve decided on your chosen grow method, the next step is adding in some high-quality soil. A local garden store will be able to direct you to top-notch local soils that may be of interest.
However, many people find success with products like Fox Farm Ocean Forest or Roots Organic. If using Fox Farm, it is recommended to cut the mixture with perlite and vermiculite as it has a reputation for being a little harsh on young plants.
While you’re filling your soil, you can also throw in some fish heads or scraps either from last night’s dinner or leftovers from a local fish market.
Burying these fish heads close to the bottom of your outdoor space is an easy way to provide an inexpensive fertilizer that will break down over time. When adding soil, it should not be too compact. Instead, it may even have a light, almost fluffy texture and appearance.
Step 6: Planting your plants
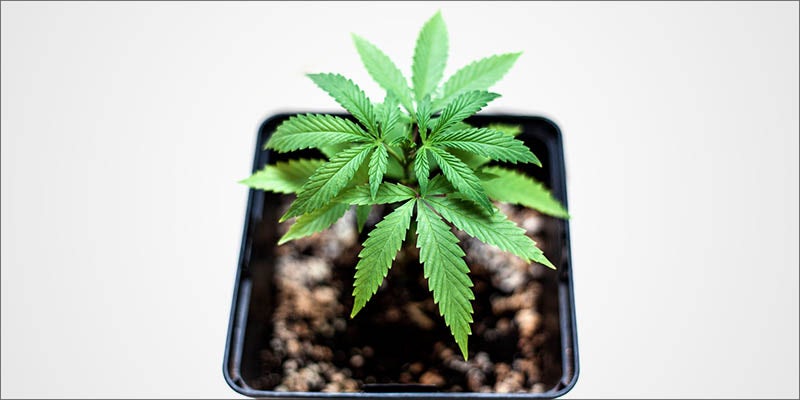
Once your soil is prepped, you can transplant your seedlings. First, dig a well inside your soil. The well should be big enough to fit the plant’s root system.
To transplant, place your hand over the opening of the plant’s current pot and tip the pot upside down while slowly squeezing the sides of the container. The container should easily slide off. If it does not, the plant may be a bit root-bound.
Once the container is off, gently break up the plant roots with your hands. The goal is just to loosen the roots to better enable them to point downward. Then, place the plant into the soil well and gently cover with dirt.
It is important not to pack the soil down too tightly. Rather, a soft pressure will do. Then drench the soil with water. Do not water again until the soil is dry.
Step 7: Fertilizers

Fertilizers can be added to the soil prior to planting as well as throughout the growth cycle. Common organic additives include:
- Fish meal
- Humid acid
- Kelp meal
- Bone meal
- Blood meal
- Compost
- Worm castings
- Bat guano
Adding these amendments to the soil prior to planting means that you will need to fertilize less as your plants grow.
After planting in high-quality soil, plants can go for a couple of weeks before fertilizer needs to be added. Two of the best and simplest fertilizers to make is compost or worm casting teas. Compost teas are more or less kombucha for plants.
Teas are liquids made by fermenting compost or worm castings that provide nitrogen and other useful nutrients. Teas are probiotic rich, supplementing the soil with beneficial bacteria, fungi, and other microbes. These microbes help free up soil and rock-bound nutrients for your plants.
These tea treatments can be applied weekly or bi-weekly. Though, growers are recommended to test the pH of their tea prior to treatment to ensure that it remains in the correct range for optimal nutrient absorption.
Step 8: Pest management
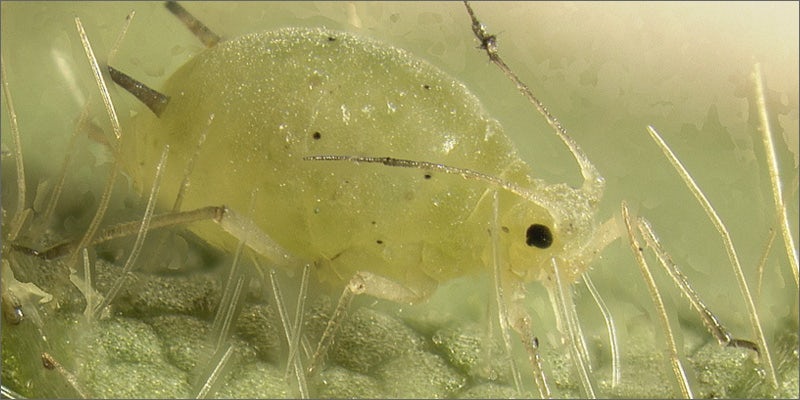
When growing outdoors, pests can be a real issue. Fortunately, there are a few safe and simple methods that can drastically reduce damage from pests. Here are a few ways to protect your bud from irksome herbivores:
Companion plants
Companion plants are plants of a different species that you plant near cannabis. Many companion plants naturally repel pests. This reduces your need to use chemical pesticides on your bud. Some companion plants can also act as natural fertilizers, harvesting up nitrogen from deep in the soil. Some companion plants include:
- Marigolds
- Basil
- Rosemary
- Clover (nitrogen fixer)
Neem oil
Neem oil is an organic extract pressed from neem seeds. This oil is one of the most commonly used pest management products used by organic gardeners. Neem oil is considered safe and is thought to leave no dangerous residue on soil or plants.
Not only does neem oil kill pests, but it can also help eliminate powdery mildew, a common problem for cannabis growers.
Diatomaceous earth
Diatomaceous earth is a powder of crushed, fossilized diatoms. To help prevent unwanted pests like ants or other creatures with a hard exoskeleton, you can sprinkle a ring of diatomaceous earth around the outside or rim of your pots or growing space. Diatomaceous earth is typically found at garden and farm supply stores.
Introduce beneficial insects
Introducing beneficial insects is another great way to easily manage and prevent pests in the garden. Some useful insects include:
- Ladybugs
- Praying mantis
- Nematodes
- Earthworms (for aerating the soil, which helps prevent infection)
Step 9: Pruning and training
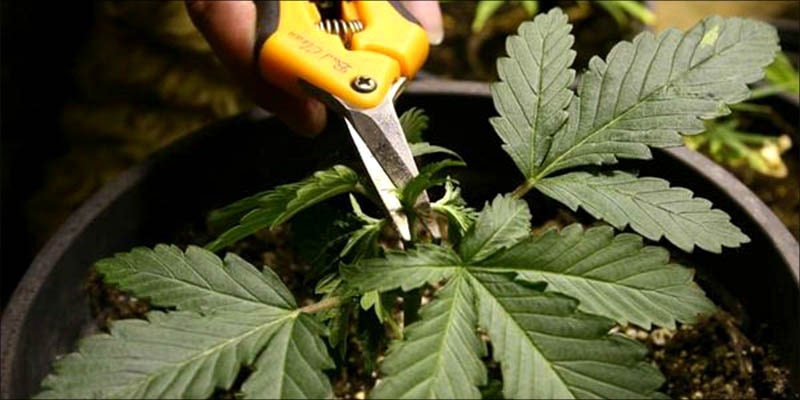
As your plants grow, many outdoor growers use ties, screens, and other training tools to help the plant achieve your desired shape. Training will be particularly important for growers concerned about height control, which is important for maintaining discretion while cultivating plants outdoors.
Like all other plants, cannabis also should be pruned throughout the growth cycle to maintain optimal health. Dead leaves and branches should be trimmed away, similar to removing decaying flesh from a wound.
Pruning also helps ensure that your plant grows into your desired shape. To prune successfully, look for new shoots that are not growing in a way that you would like. Using pruning scissors, trim away these new shoots to allow your cannabis plants to develop larger buds.
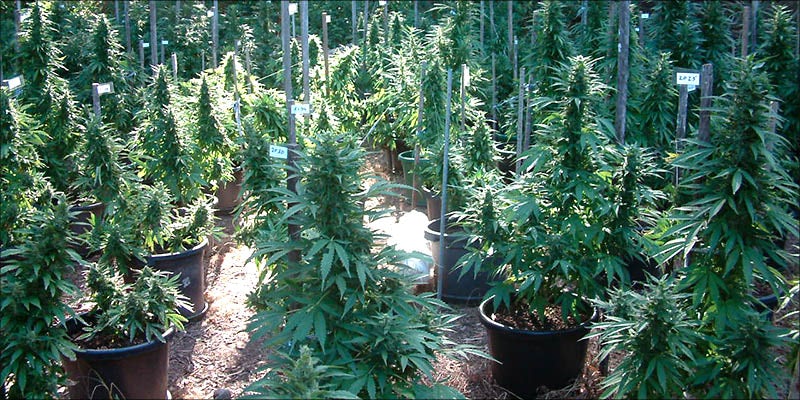
Step 10: Flowering
Outdoor plants typically switch into the flowering period after the summer solstice, when nights begin to get shorter. How long a plant will remain in flowering depends on the strain. For many sativa strains, the entire growth and flowering cycle can take as long as 14 weeks.
During flowering, it’s important to pay attention to the size of your buds versus the distance between the nodes of the plant (the internodal distance). The lankier the plant, the more likely it is that the buds will need to be supported during flowering.
Flowering is a sensitive time for your plants. If female plants are exposed to male plants, you risk pollination which will lower the quality of your harvest. Many strains also flower close to the start of the rainy season, which means that they might be exposed to excess moisture.
The dense flower structure of the cannabis plant makes for a great hiding place for molds and mildews. If the forecast says rain, it is extremely important to provide some sort of shelter for your plants. For many growers, this means throwing up a hoop house or building a greenhouse shelter.
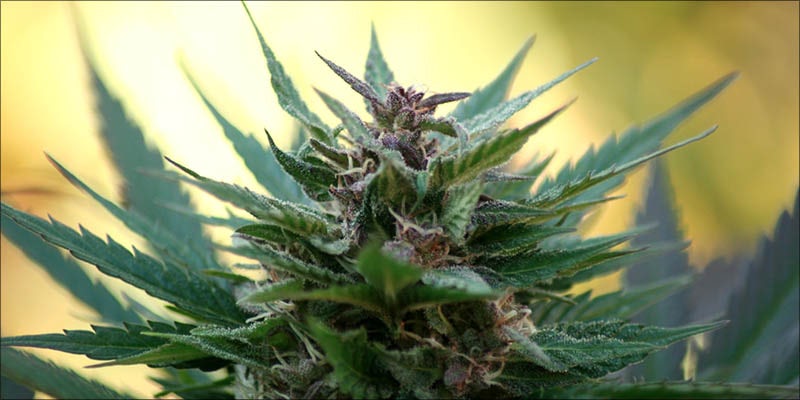
Step 11: Harvest
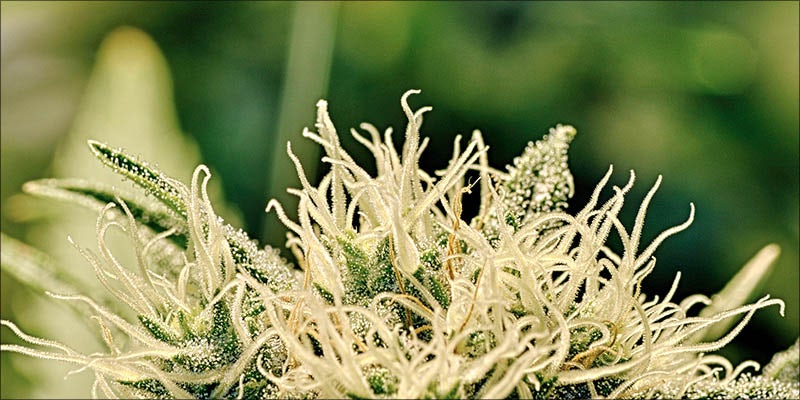
Most cannabis strains will be ready to harvest outdoors between late September and early October. However, some strains need much more time. You can tell when your plant is ready for harvest by watching trichome and pistil formation.
Plants are ready for harvest when nearly all pistils begin to transform from white to reddish brown. Similarly, trichomes will develop a translucent white coloration. Some prefer to let trichomes age slightly until they begin to turn amber.
Letting trichomes age may mean that the THC in the plant begins to break down into cannabinol (CBN), which means that the bud may be slightly less potent.
Waiting for amber coloration also means that the various aroma molecules (terpenes) in a strain begin to express more, potentially making the bud more flavorful and aromatic.
Some strains age better than others, so it is important to do your research about the strains you’ve decided to grow. You can start by checking out HERB’s strain database.
Featured Brands:

Herb Recommended Products:
READ MORE