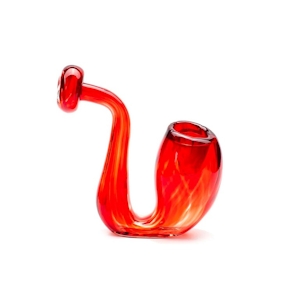
While glancing at the wondrous variation of colors and designs of your bowl, you might not realize all the work that went into making it.
But behind every quality glass pipe is an artist who, with a set of steady hands, the right amount of flame, and keen attention to detail, transformed molten glass like magic.
The process of blowing a glass pipe should never be understated. In addition to requiring considerable precision, it takes a great deal of experience to make the perfect bowl.
But can the art of glass blowing be taught? Professional pipe makers say blowing glass is like playing guitar: learn the chords, learn the scales, practice, and you can play any song you want.
Here’s a step-by-step guide on how to get started. Be warned; it’s not easy and potentially dangerous.
So if you want a pipe that’s gonna be a conversation starter but don’t want to risk burning your hands, head over to Fat Buddha Glass; their glass pipes could easily be exhibited in an art gallery and will for sure catch everybody’s eye.

How To Make Glass Pipes: How To Blow Glass Pipes For Beginners
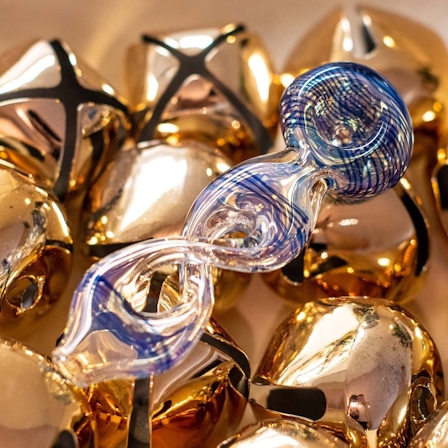
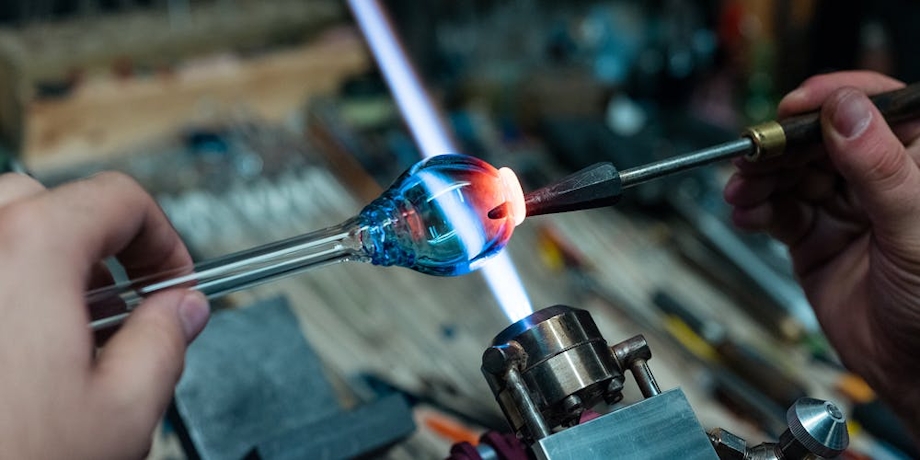
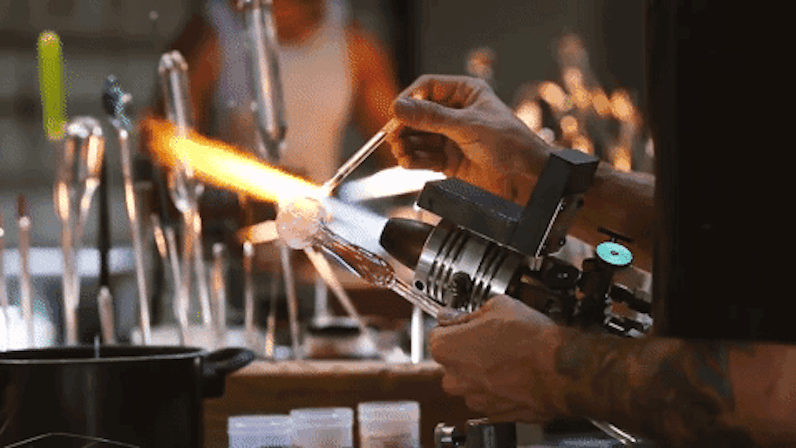
Photo courtesy of Fat Buddha Glass
Humans have blown glass pipes since around 30 BC. Yes, 30 years before christ. At the time, the Romans would form their glass pipes using the blowpipe technique.
In other words, blowing glass into a bubble with the help of a blowpipe. To this day, many talented glass artists continue to use that very method.
When it comes to how to blow a glass pipe, it’s worth noting that for your safety, as well as that of those around you, it’s not advised that you try glassblowing at home without the help of someone who knows what they’re doing.
After all, you will be handling glass at extremely high temperatures. If, by chance, you manage to drip glass onto your skin, it can cause some pretty severe damage.
Here are the materials you’ll need to get started on how to blow glass:
- Leather gloves
- Heavy clothing
- Goggles
- Large cylinder of MAPP gas along with a torch head
- Carbon rod with pointed end
- Heavy-walled borosilicate glass tube, 6 to 8 inches long

Step 1: Armor Up And Prepare The Materials

The first thing you need to do before you start making your own glass pipe is to suit up. Make sure your goggles are securely in place and that you’re wearing heavy duty clothes.
That way, glass is less likely to find its way into your eyes or onto your skin. Also, if your hair is long, then you should tie it up to avoid burning off any strands.
As for the other materials, you’ll need to arrange them away from anything flammable. The room shouldn’t be too cold. If your glass cools down too quickly after heating then it may shatter.

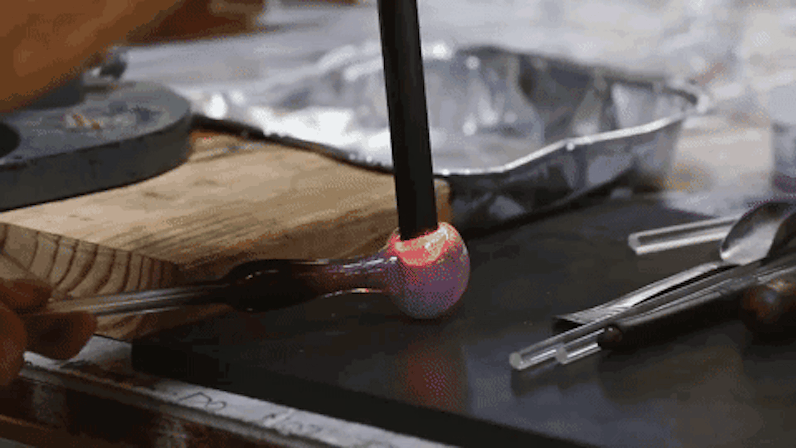
Step 2: Blast And Blow
Now it’s torch time. After igniting your torch, adjust your gas so that the flame has a feathered-pointed end. Once it’s ready to go, you can start applying heat to the un-opened portion of your tubing.
Next, begin blowing through the opposite end of your tube to form the bowl. It’s vital that you evenly apply heat to the bowl while doing this so that it remains fixed as it blows out.
Once the bowl has reached a desirable size, then you can stop blowing and give your device some time to cool down.
Step 3: Form A Pathway For Your Smoke
Creating a hole in your pipe is essential so that all that tasty weed smoke can flow in and out.
To do this, add heat to a small area somewhere along the outer border of the bowl. Then, blow forcefully from the opposite end until you achieve your hole. Afterwards, give your device some time to chill.
Moving forward, you’re now going to apply heat to the area surrounding the hole until the glass becomes malleable. But don’t overdo the heat to the point where the material starts to liquify. If you do, then it’s likely that you’ll ruin your hole.
Grabbing your carbon rod, you’re going to press ever so gently onto the area until you’ve formed a deep enough hollow for your bowl. After that, allow the pipe to cool off.

Step 4: Construct The Carb And Mouthpiece
You’re almost done!
But first, you’ll need to create a carb for your device. On the outside of your bowl, apply heat to a small area while blowing from the other end until you get a hole.
To keep air from getting inside, use your carbon rod as a safeguard. Then, let the pipe sit until it’s cooled off.
Finally, you need a mouthpiece. On the open end of the tube, add heat to melt any unevenness.
Your mouthpiece should always be smooth since that is where you’ll be taking in those powerful hits of herb. When it’s looking beautiful and polished, you’re going to give your brand new pipe time to cool once more before it’s all set and ready for toking.
Featured Brands:

Herb Recommended Products:
READ MORE